1. Empty Greenhouse Shell. Isaac is 4 years old.
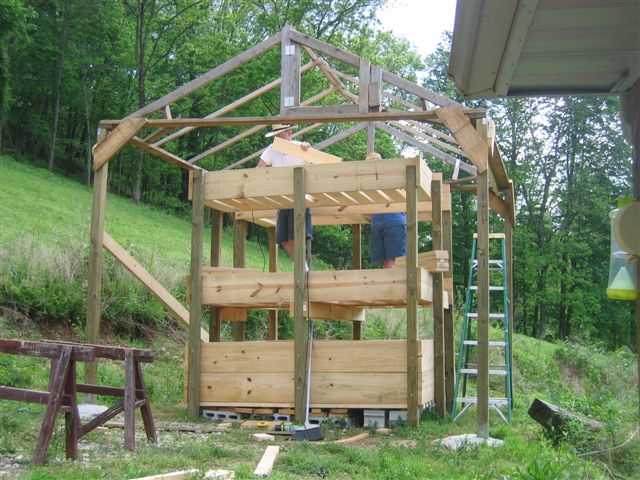
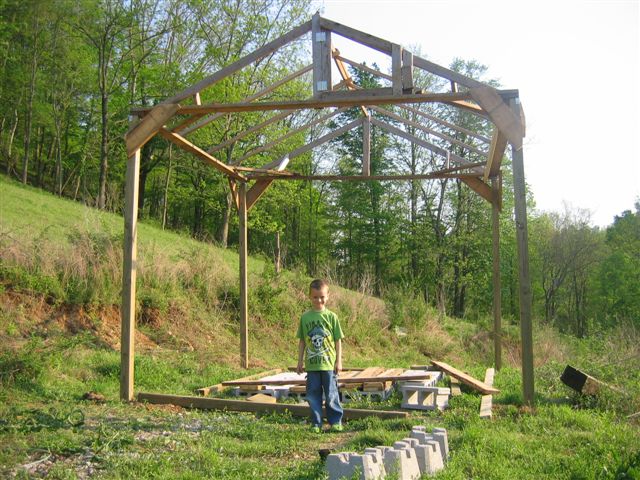
2. We built the Aquaponics structure using 4x4 posts and lumber.
There are 4 media beds supported above an 8' x 8' wooden fish tank.
Water will be pumped from the fish tank at the bottom into the 4 media beds, and then drain back into the fish tank.
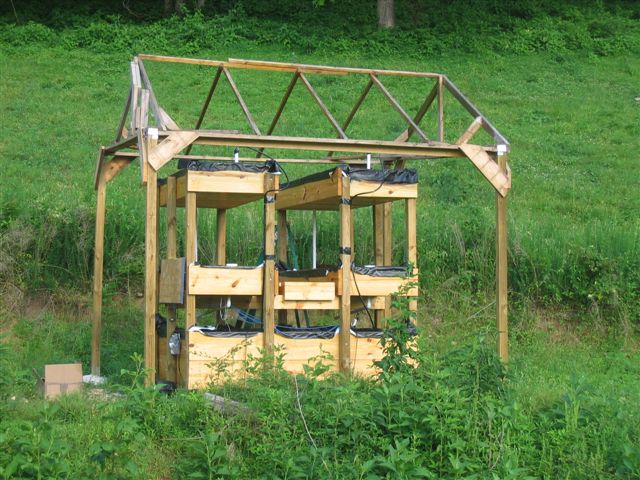
3. A rubber sheet used for lining ponds has been placed inside the 4 media beds and fish tank.
Pipe and pumps have been installed to circulate the water from the fish tank up to the 4 media beds.
There is a walkway over the center of the fish tank to allow access to the upper media beds.
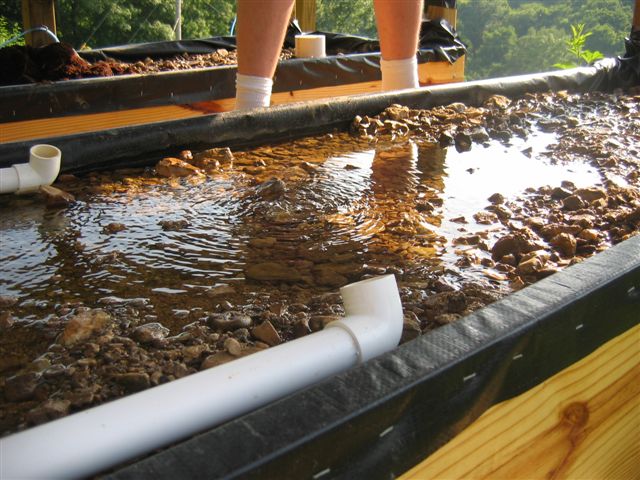
4. The two bottom media beds are filled with river gravel.
River gravel contains Nitrosomas and Nitrobacter bacteria, which converts the ammonia from the fish waste into nitrites, and then into nitrates, which will be used as liquid fertilizer for the plants.
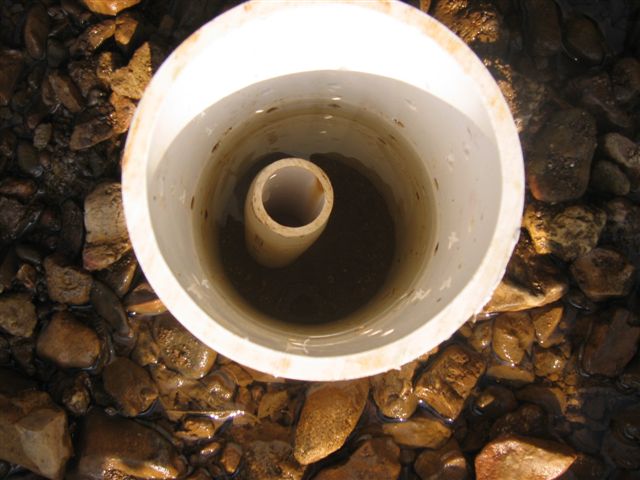
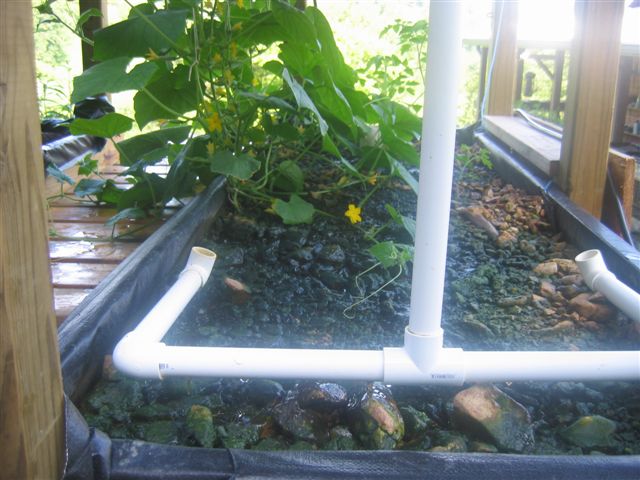
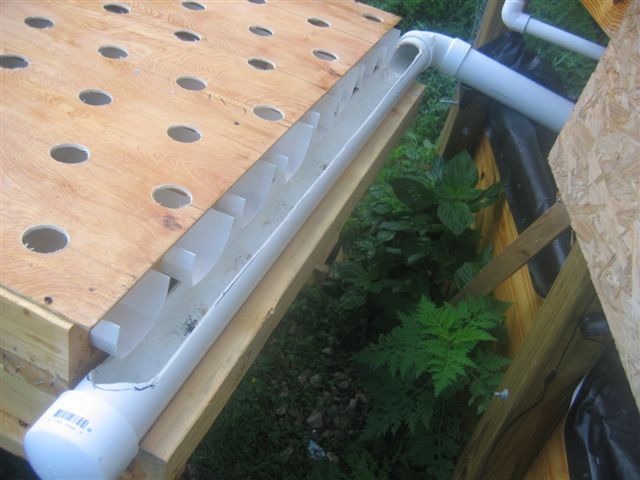
5. The drain in the media beds.
I used 4" PVC pipe to keep the river gravel away from the drain pipe in the center so it would not clog.
The top of the drain pipe is lower than the top edge of the media bed so the water would not overflow the media bed.
The drain pipe in the center also has holes drilled down the length so it can slowly drain the water.
A timer would activate two pumps to flood the media beds with water from the fish tank for 15 minutes each hour.
The water would slowly drain back into the fish tank for the remaining 45 minutes each hour when the pumps were not working.
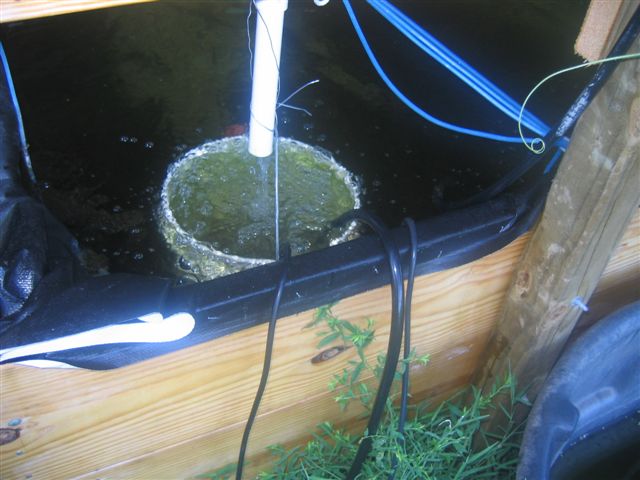
6. The pumps would sit in a bucket to keep the fish away from the pumps.
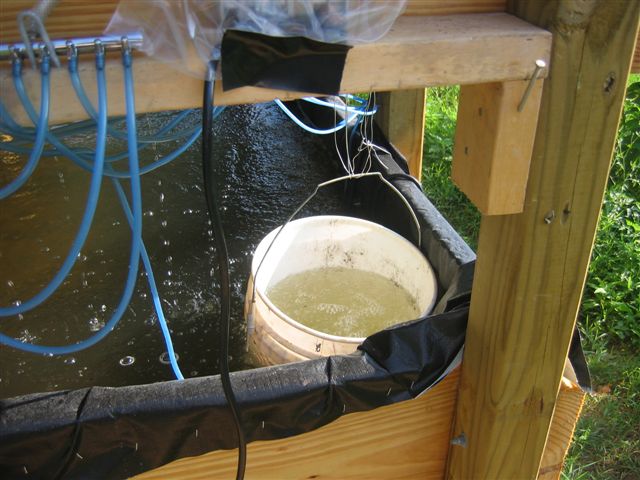
7. Another smaller bucket was used for raising small fish.
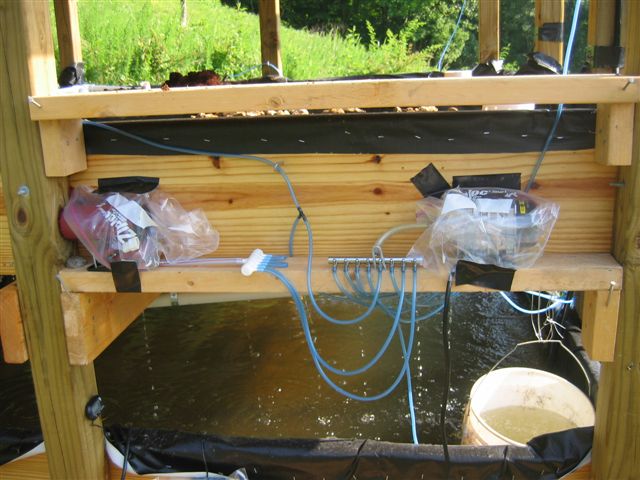
8. Two separate air compressors were used, and were covered with clear plastic to protect from the weather.
Both compressors fed air into a central manifold (silver in color) that was used to provide air to the airstones in the fish tank to oxygenate the water.
One compressor was attached to our 120 volt AC wall socket. The second compressor operated off a 12 volt DC Marine battery and would activate whenever the AC power was not available.
This setup was required to insure that the fish had oxygen in the water. If the power from the electric grid was out for more than 2-3 hours, the fish would die due to lack of oxygen.
To activate the 12 volt compressor when the power from the grid was not available, I used a small cell phone charger and attached it to a relay switch from Radio Shack.
As long as there was power from the electric grid that fed the phone charger, the relay was energized to stay open.
When the power from the grid failed, the phone charger would no longer hold the relay open, and the circuit would close and complete the circuit to power up the 12 volt compressor using the 12 volt DC Marine batteries.
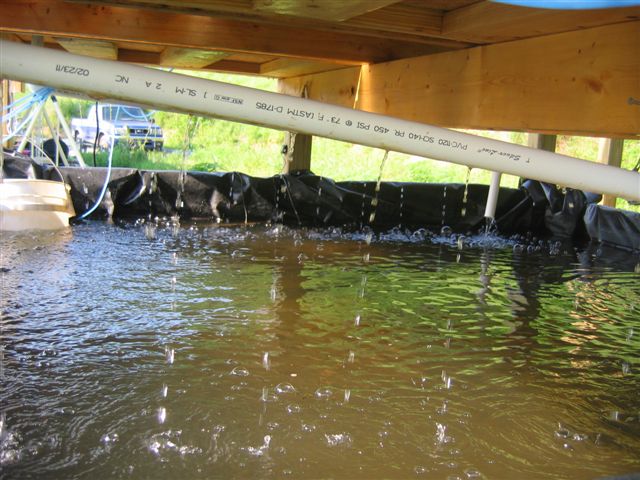
9. To help aerate the fish tank, I drilled holes in the the return line to drop water into the tank like rain.
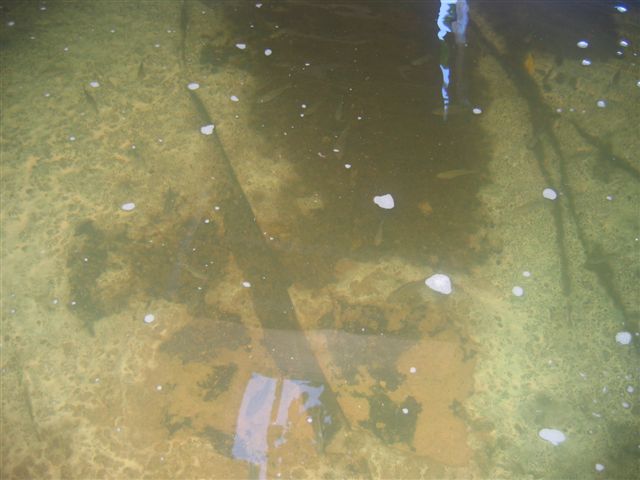
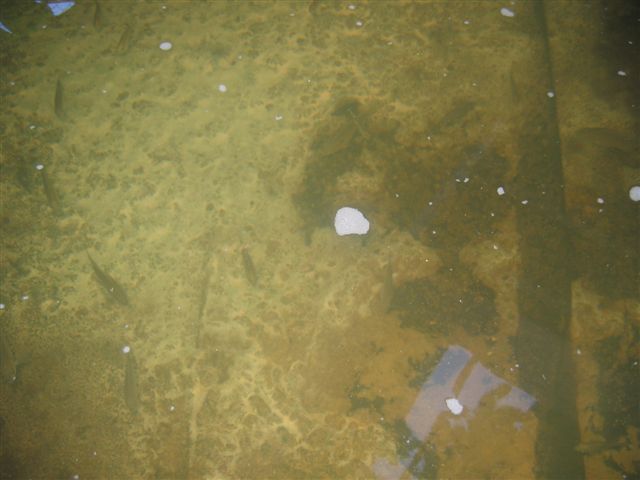
10. A picture of the fish in the tank. I used Bluegill fish as they could withstand the winter weather in Tennessee. Tilapia die below 65 degrees Farenheit.
11. As time went on, the fish would nibble at the rubber sheeting and cause very small holes, so I need much thicker pond liner rubber sheeting for my next fish tank.
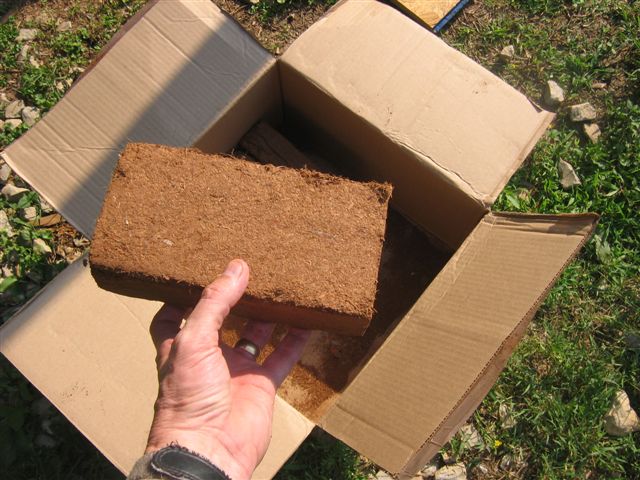
12. This is cocoapeat, a media for germinating seeds made from cocoanuts.
These bricks will expand 4-5 times in size when you add water.

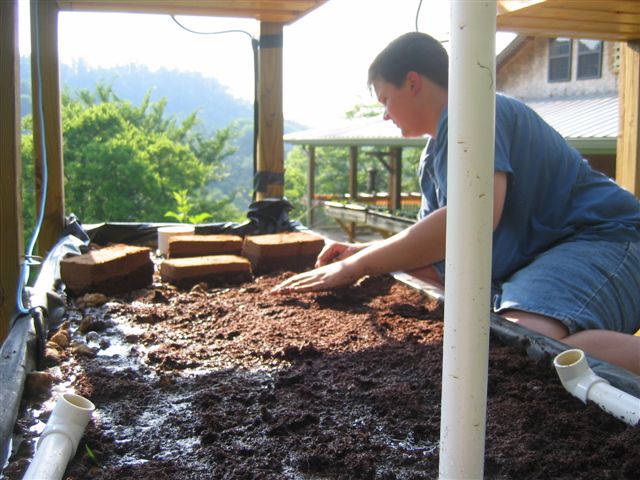
13. Cocoapeat has been added to the two top media beds.
The cocoapeat will wick up the moisture so that the germinating seeds do not get too much or too little moisture.
14. We tried adding cocoapeat over the top of one of the gravel media beds. It made things harder to clean.
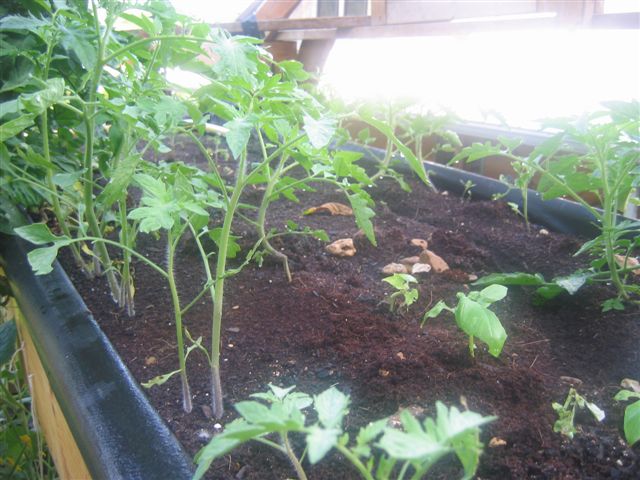
15. But tomato plants grew very well from seed in the cocoapeat.
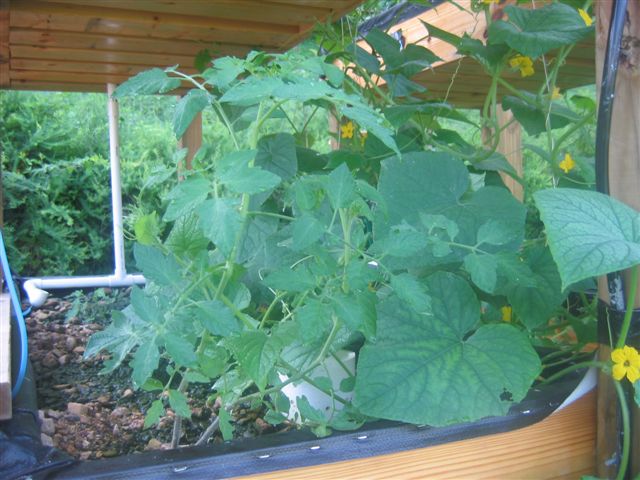
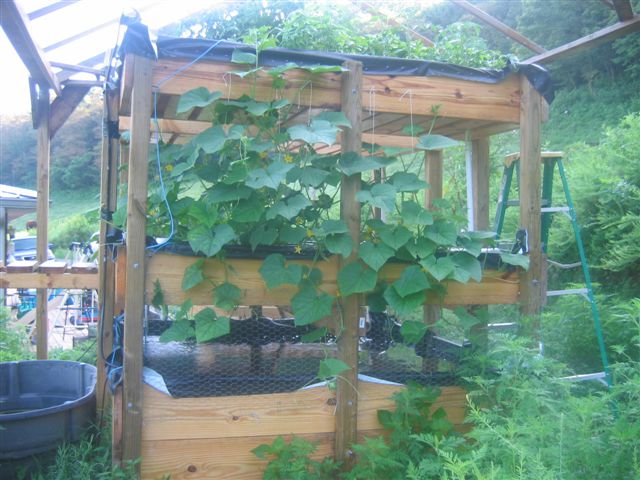
16. Cucumbers growing in the gravel media bed.
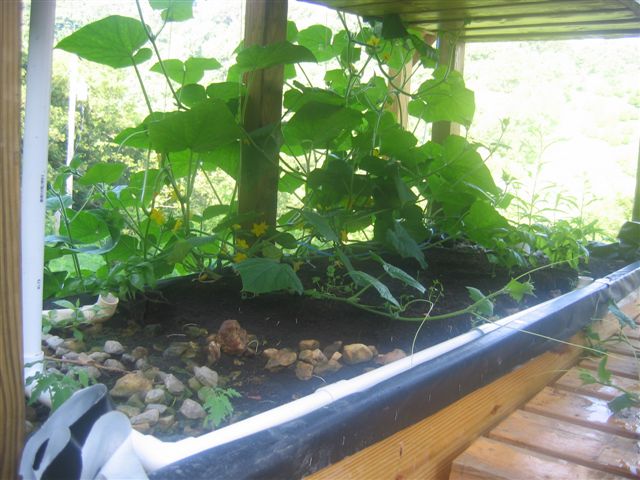
17. Cucumbers did very well in the Aquaponics setup.
18. We started running out of room for our plants.
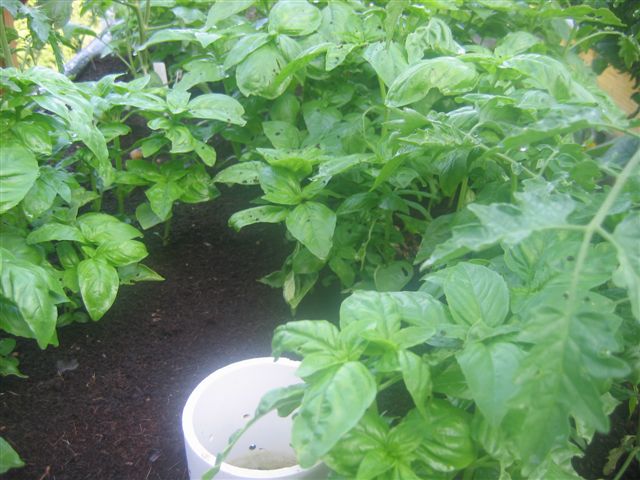
19. We also grew basil, which grew very fast in the media beds.
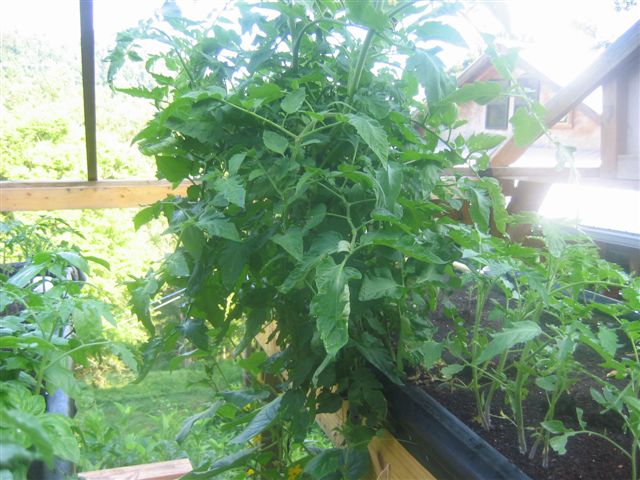
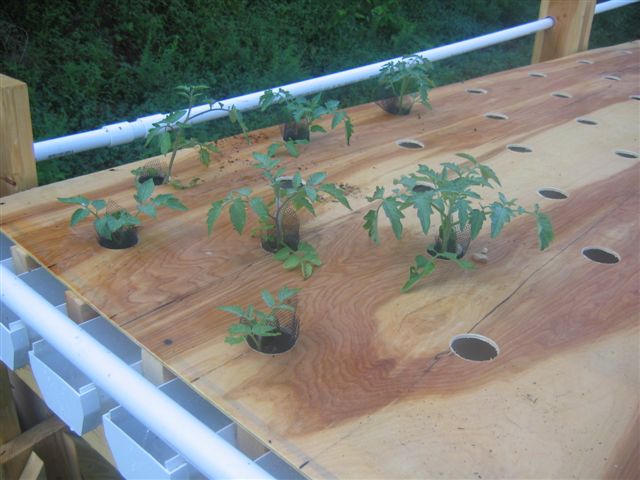
20. Tomatoes grew very well.

21. Basil and Tomatoes.
22. Plant explosion. Too many plants and not enough room.
23. Plants growing above the fish tank.
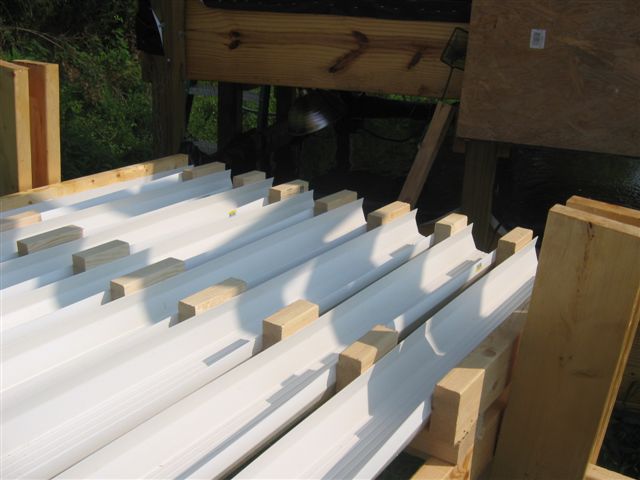
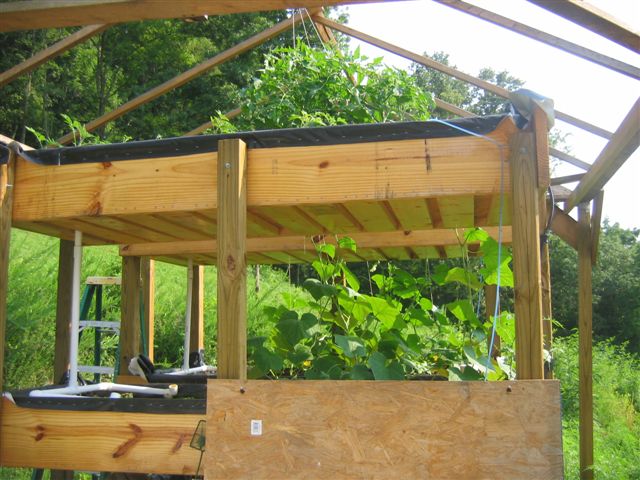
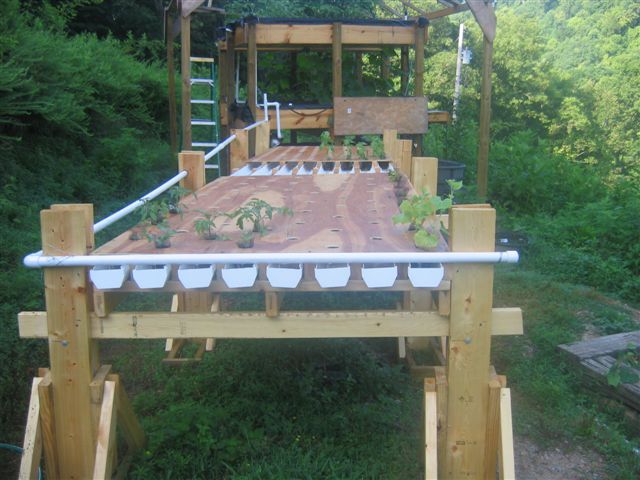
24. To provide more growing space, we added Nutrient Film Technique, using 20' long gutters supported in a wooden stand.
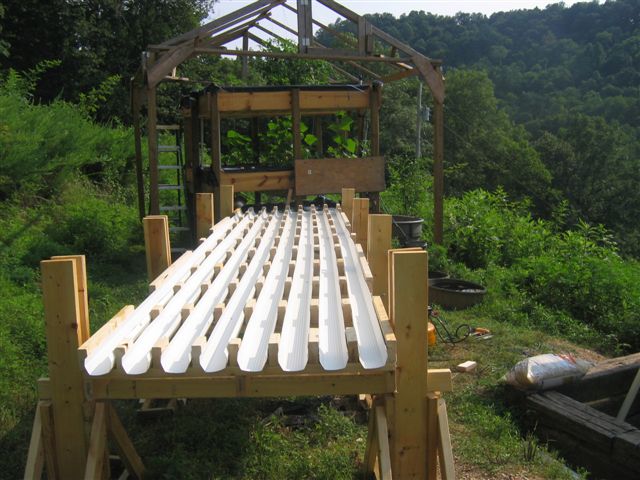
25. The gutters on the stand had a 20:1 drop and fed the water downhill and back into the fish tank.
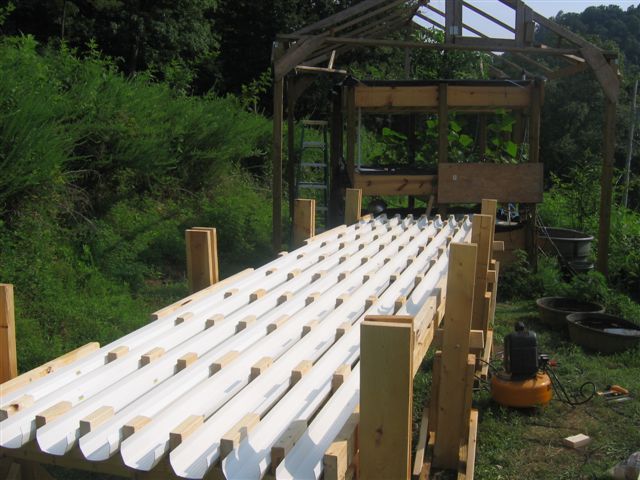
26. Blocks of wood were added between the gutters as supports to hold up a board to cover the gutters.
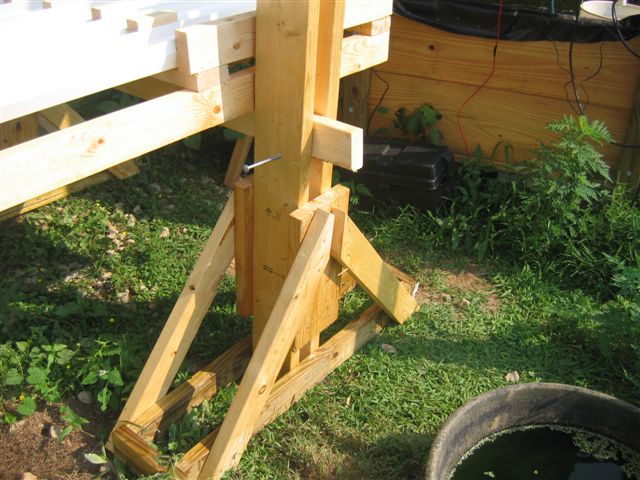
27. How the gutters were supported:
A wooden support cross piece could be raised or lowered to give the gutters in the stand the required slope angle.
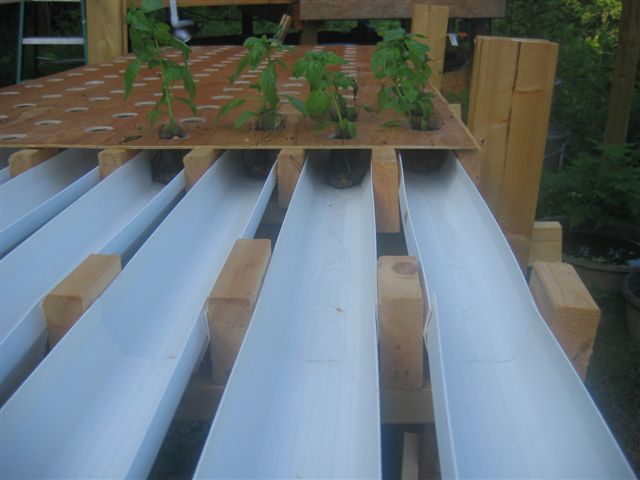
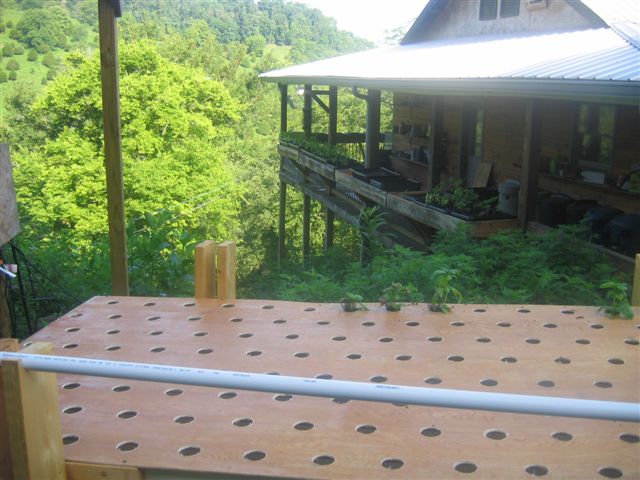
28. A thin sheet of plywood was laid over the top of the support blocks, and above the gutters.
Holes were drilled into the plywood so that the plants could be inserted in the holes.
Pea gravel was placed around the roots of the plants and held around the roots with with a small fiberglass mesh and a twist tie.
The plants had been taken with their bare roots from the cocoapeat. No soil was ever used, yet the food they produced tasted great.
29. Another view of the holes awaiting plants.
30. The water from the fish tank was pumped through the white pipe to upper end of the gutters. This is called "Nutrient Film Technique".
31. A thin film of water continuously runs down the length of the gutters, which is absorbed by the roots of the plants held in the pea gravel and fiberglass mesh.
32. Downward slope of the feed line.

33. A hole has been drilled in the PVC pipe to allow water to fall into every gutter. The water contains the nitrates created from the fish ammonia.
34. A half pipe collects the water from the gutters and sends it back to the fish tank.
Here are my mistakes that I learned from this prototype:
1. Any place in the system where water was exposed to sunlight, even indirect sunlight, would produce algae.
Algae would gum up the water distribution system, and require constant cleaning.
So, the water needs to be kept in the dark, away from the sunlight.
2. The fish waste would end up in the gravel media beds and clog the system.
Some media beds used hollow clay balls for their media, so that they can be taken out an cleaned.
There is a lot of work cleaning the media beds for this reason. Nutrient Film Technique seems to be easier to maintain than media beds.
But you need media beds with cocoapeat for germination.
The solution is to not use gravel, and to use cocoapeat and other expendable media that can be easily replaced. Gravel is very heavy and hard to replace.
3. The University of the Virgin Islands (UVI) uses the deep water raft technique where plants are grown on foam boards floated in deep fish water.
To handle the removal of fish waste, they use large masses of fishing nets to collect the fish poop. These nets are removed and power washed to maintain water purity from fish waste.
4. My solution was to add catfish to eat the fish waste, as catfish are a natural scavenger.
This worked very well, but I did not have a separate fish tank for the catfish, and so they were ultimately eaten by the bluegill fish.
But the catfish got rid of all of the excess fish waste before they were eaten, so the idea worked, it just needs a better tank design.
Tilipia is the best fish for aquaponics as they will not eat each other. But they will die below 65 degrees Farenheit and are only good for a tropical environment.